Tutorial Menus
Menus are a relatively simple way to allow visitors to navigate your site and consist of a series of links across the top of your page (header), or sometimes along one of the sides or the bottom (footer).
There will be differences in where your menus can be displayed that are dependent upon the theme that you choose, so if you change themes, you may have to adjust the display of your menus.
You can edit your menus by hovering your cursor over ‘Appearance’ and choosing ‘Menus’.
The good news is that the work that you did to create a hierarchy of categories is the hard work involved in creating a menu. All you have to do now is add those categories to a menu.
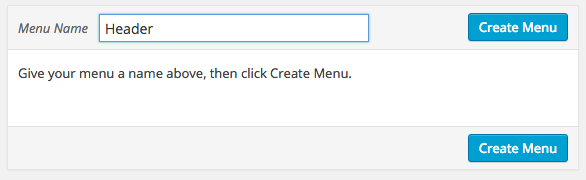
You can edit the default menu that comes with your new site, or create a new one. The title of your menu is relatively inconsequential as it is not visible to your visitors, but it should be meaningful to you. Start by providing a name for your menu and clicking ‘Create Menu’.
On the left side of the menus page, you will see a list of items that you can add to your menu.

To add an item, click the checkbox beside the page or category you want to add and then click ‘Add to Menu’.
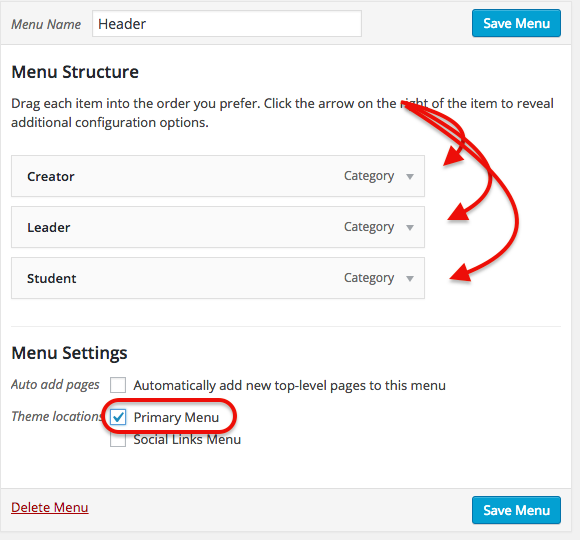
In the image above, I’ve added three categories to the menu and told WordPress that this will be the primary menu.
After I click ‘Save Menu’ my menu looks like this on the front end.

The theme on the site for this screenshot was ‘Twenty-Fifteen’, the annual default theme from WordPress, which shows the menu on the sidebar and also shows the description of the categories. This will likely be different if you are using a different theme.
Take some time to create a preliminary menu structure that makes sense to you. Keep in mind that this is quite flexible and will likely change, but that is ok. It is good to think of your e-Portfolio as being in perpetual beta. It is never ‘done’ and is always ‘in progress’.